
Features tour
A quick tour of what Leaf adds on top of your games. Most of this lives in Settings, reachable from the launcher.
Appearance
Section titled “Appearance”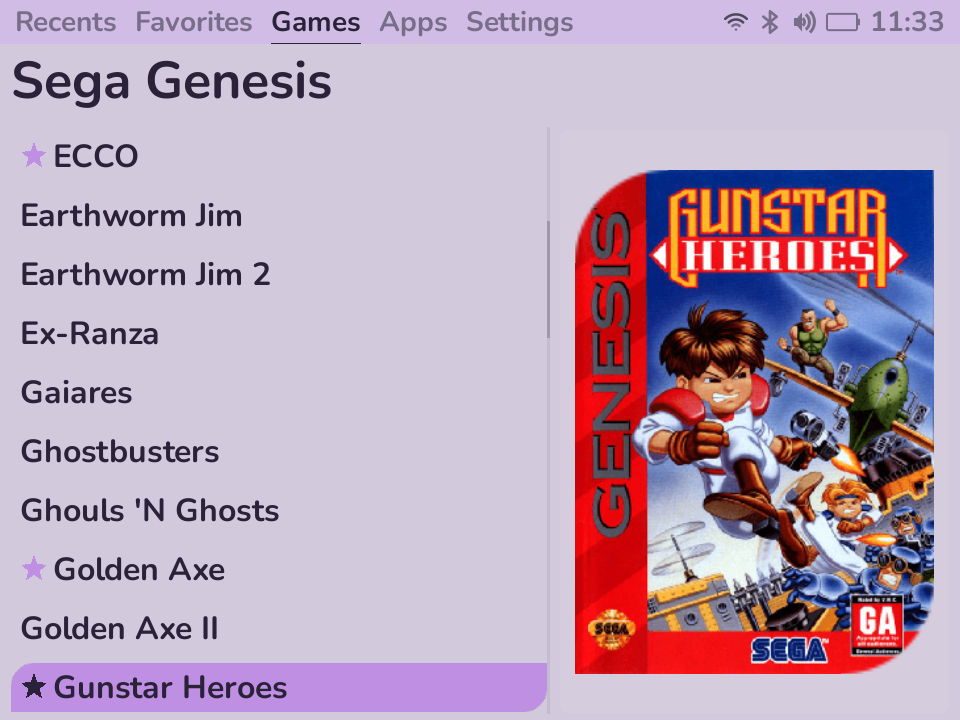
Make the launcher yours from Settings → Appearance:
- Color schemes - pick from fourteen curated palettes: a full spectrum in dark and the same spectrum in light, led by Leaf (the soft-green default). You can also hand-tune individual colors, which switches the scheme to “Custom.”
- List style - choose how the selection highlight looks (rounded, soft, square, or the directional Leaf pill).
- Fonts - pick a font family (Nunito by default, with eight more) and adjust the font size.
Status bar
Section titled “Status bar”A configurable bar across the top (Settings → Appearance → Status Bar):
- Clock - with style options.
- Battery - animated while charging, with a low-battery warning.
- Wi-Fi - connection state and signal strength.
- Bluetooth - shown when the radio is on, highlighted when a device is connected.
- Volume - the current system volume.
Each indicator can be toggled. You can also hide the button hints footer; with hints off, content expands to fill the screen, and apps built on Leaf’s toolkit follow the same setting.
Lighting (RGB ring)
Section titled “Lighting (RGB ring)”The stick has an RGB ring you can drive from Settings:
- Solid, breathing, and rainbow modes, plus a few animated effects.
- A breathing-green glow is the default Leaf identity.
- Toggle the ring on/off with a stick click.
Networking
Section titled “Networking”- Wi-Fi (Settings → Network) - scan, connect, and turn the radio on or off. Your choice persists across reboots.
- Bluetooth (Settings → Bluetooth) - scan for and pair headsets and controllers; game and system audio follows a connected headset automatically.
Achievements
Section titled “Achievements”Sign in to RetroAchievements once (Settings → Accounts) and RetroArch logs you in at every game launch; achievements and progress show up in supported cores. See Settings → Accounts.
Performance
Section titled “Performance”Settings → General → Game Performance lets you pick how hard the device works during gameplay:
- Auto - light systems run efficiently; heavier systems automatically boost.
- Balanced / Performance / Battery Saver - pick a fixed behavior.
Leaf keeps the launcher itself in a low-power state and ramps up the CPU, GPU, and memory only when a game launches, then winds back down on exit. There’s also a live performance panel in the in-game menu for tuning while a game runs.
Menu button
Section titled “Menu button”On the launcher home, the Menu button opens the System menu: a library rescan, System Update, About, and the session and power actions (sleep, reboot, power off, exit to stock). See Settings → System menu.
While a game is running, the same button opens the in-game menu instead - quick actions (resume, save and load states, the performance panel, quit back to the launcher) without leaving the game.

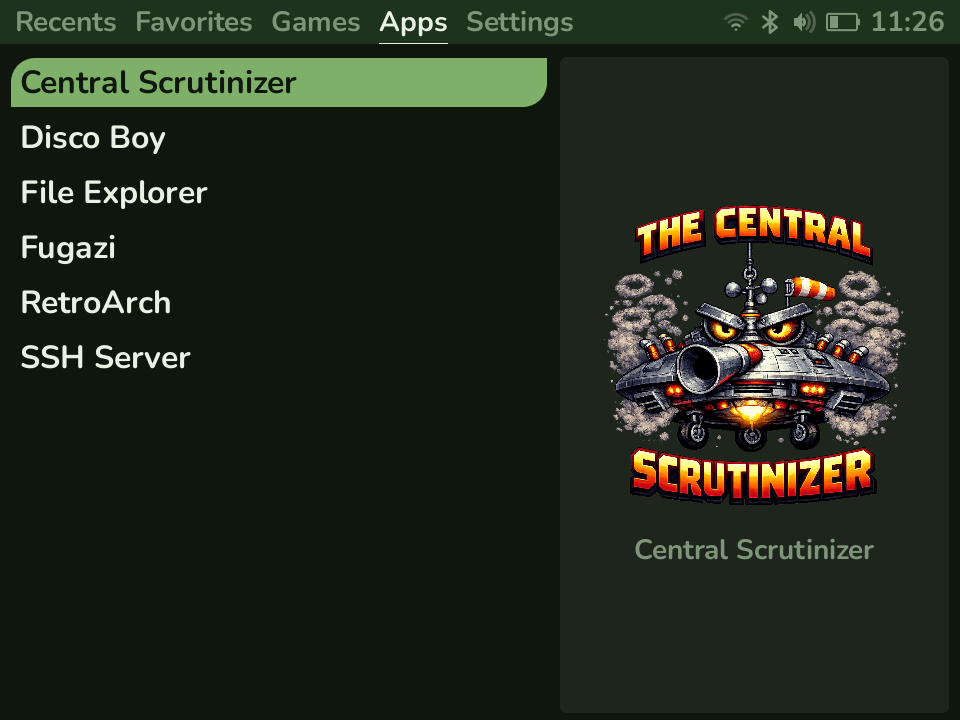
Leaf ships with a few built-in apps (under the Apps tab):
- Central Scrutinizer - manage your library over Wi-Fi from a web browser: upload ROMs and box art, manage saves and BIOS files, and browse the SD card, all without pulling the card. See Managing your library with Central Scrutinizer below.
- Fugazi - a live CRT-shader tuner. Dial in a retro look (scanlines, screen curvature, a phosphor mask, glow, and more) against a full-screen preview, then install it as the global shader so it applies to every game. See CRT shaders with Fugazi below.
- Joe’s Calibrage - calibrate the analog stick so games see its full range. See Calibrating the analog stick below.
- SSH Server - start an SSH server to reach the device over the network.
- File manager - browse and manage files on the device.
Box art
Section titled “Box art”Press X on a game or system to open its Options menu, where you can rename
it, pick a core, set a performance profile, or scrape box art. Leaf downloads art
from ScreenScraper.fr (sign in under Settings → Accounts), and it runs in the
background while you keep browsing or playing. You can always drop images into
Images/ by hand instead. See Adding games → Box art.
Managing your library with Central Scrutinizer
Section titled “Managing your library with Central Scrutinizer”Open Central Scrutinizer from the Apps tab to manage the SD card from any computer or phone on the same Wi-Fi network - no card-pulling, no cables.
To connect:
- Put the device on Wi-Fi (Settings → Network).
- Launch Central Scrutinizer. It serves a small web manager and shows the address to reach it at.
- Open that address in a browser on a computer or phone on the same network.
From the browser you can:
- Upload ROMs straight into the right system folder, and box art into
Images/. - Manage your saves, save states, and BIOS files.
- Browse the SD card and tidy up files.
It’s the over-the-air alternative to filling the folders by hand; either way the layout is the same (see Adding games & ROMs). A few things to know:
- Both ends have to be on the same network. The address is local only - it isn’t reachable from the public internet.
- The manager runs while the app is open; exit it on the device to stop serving.
CRT shaders with Fugazi
Section titled “CRT shaders with Fugazi”Open Fugazi from the Apps tab to give games a CRT look. It renders a live, full-screen preview, so you can see exactly what each setting does before committing to it.
The workflow:
- Move through the settings with Up/Down and adjust the highlighted one with Left/Right for fine steps, or L1/R1 for coarse jumps.
- Press X to swap in a built-in test pattern - a clean image makes scanlines, curvature, and the mask easy to judge; press Y to clear it.
- When you like the look, press A to install it.
Installing bakes your values into a RetroArch shader preset on the SD card and registers it as RetroArch’s global preset. Because it’s the global preset, the shader is used by every core the next time you launch a game - there’s no per-game or per-system setup. To change the look later, reopen Fugazi, tune, and install again; the new preset replaces the old one.
A couple of things to keep in mind:
- The preview is representative, but the final look over a real game also depends on that core’s output resolution and the panel, so it’s worth tuning with a game in mind.
- Heavier settings (a fine phosphor mask, strong glow) cost more GPU time. On 8- and 16-bit systems that’s usually free, but on demanding cores it can eat into your headroom - ease off the mask if a game struggles.
Calibrating the analog stick
Section titled “Calibrating the analog stick”Open Joe’s Calibrage from the Apps tab to calibrate the analog stick. The stick’s physical range is narrower than the value range games expect, so out of the box it can feel like it never quite reaches full tilt - a walk instead of a run in 3D games. Calibrage measures your stick’s real range and saves a profile that Leaf uses to remap it back to the full range for every game.
The workflow:
- Open Calibrate, roll the stick slowly around its outer edge a few times, then press A.
- Let the stick rest at center, then press Y to save.
- Open Test Stick to check it - the dot should now reach the edge of the circle at full throw.
Leaf’s input layer reads the profile when the device starts, so restart the device after saving for it to take effect in games. (The Test Stick preview reflects your new calibration right away.) View Values shows the saved profile, and Restore Backup brings back a previous calibration.
Game switcher
Section titled “Game switcher”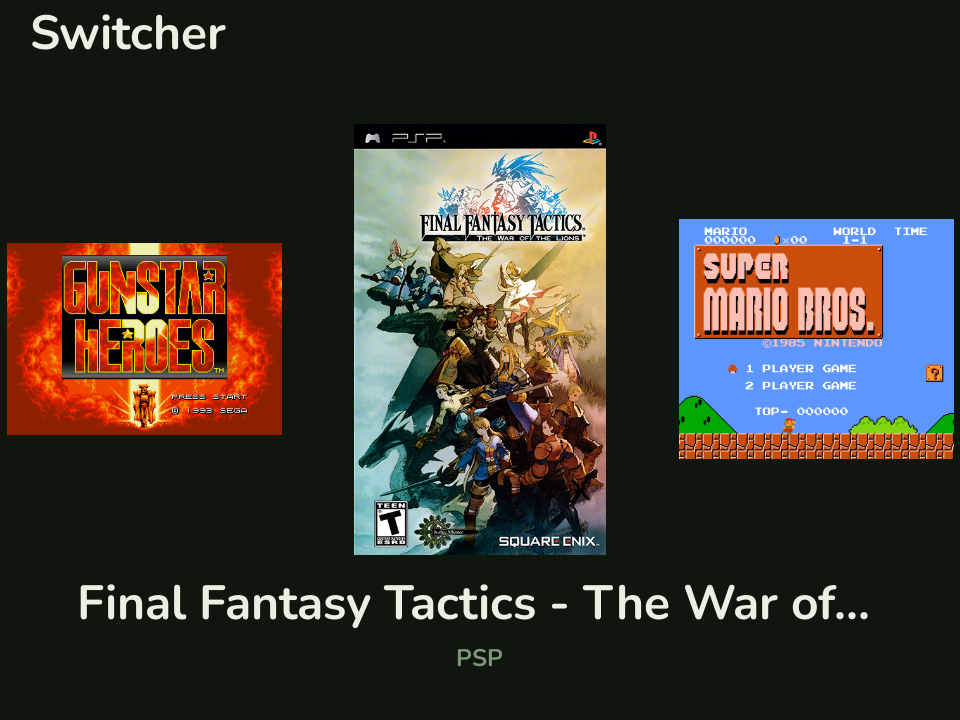
Press SELECT anywhere on the home screen to open the game switcher - a focused carousel of your recent games for jumping back in fast.
| Button | Action |
|---|---|
| Left / Right | move through recent games |
| A | resume the highlighted game |
| Y | remove the highlighted game from Recents |
| B or SELECT | close the switcher |
The currently running game shows a live snapshot of where you left off; others show their box art, or a placeholder card with the system name when there’s no art yet.
Recents & saves
Section titled “Recents & saves”- Recents shows what you’ve been playing; you can remove entries you don’t want.
- In-game saves and save states are written to the SD card (
Saves/,States/).